HOW TO FIND SUCCESS WITH CUSTOMIZED APPOINTMENT REMINDERS
May 20, 2021
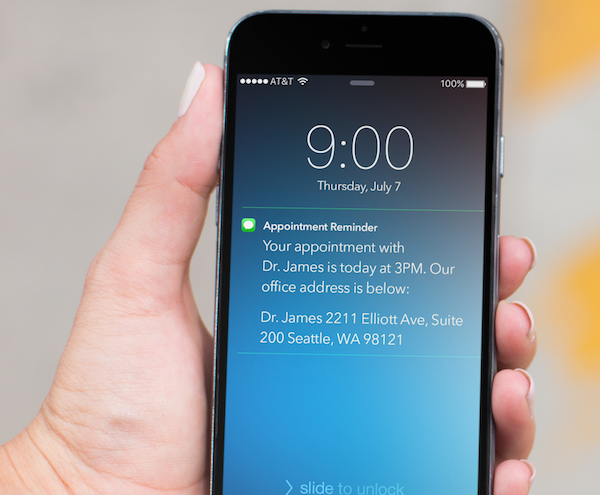
by Appointment Reminder TeamWe know that ever individual is different. So treating their reminder options the same may not be the best approach. One person may love phone calls, while another likes text messages. Some people need more detail in their messaging, while others just need the basics. Appointment Reminder has made it easy for you to customize your scripts and appointment options. Here are some great tips on how to customize for your clients!
Customize The Work Week to Specific Days
To set your work schedule to specific days of the week (ie. Mon-Sat only) go to Schedule Tab and choose the schedule you wish to customize. Click “Configure Settings” and a drop down box will appear where you can select specific times and days of the week.
Record a Custom Voice Message
Recording a Custom Message is easy! Just follow the steps below.
-
First you will want to go to the SCRIPTS tab at top.
-
Choose DEFAULT SCRIPT
-
Click Edit Script and in the drop down, click RECORD YOUR OWN MESSAGE
-
Call (814) 822-0303 and type in the passcode generated in the pop up box
-
Follow the prompts on the phone (similar to when you are recording voicemail on your phone.)
Voila, you have a custom voice script! The prompts will automatically come after your recorded script so no need to record press 1 to confirm etc etc.
You can record several types of phone messages under reusable scripts and assign them for each appointment reminder.
Edit Your SMS/Phone and Email Scripts
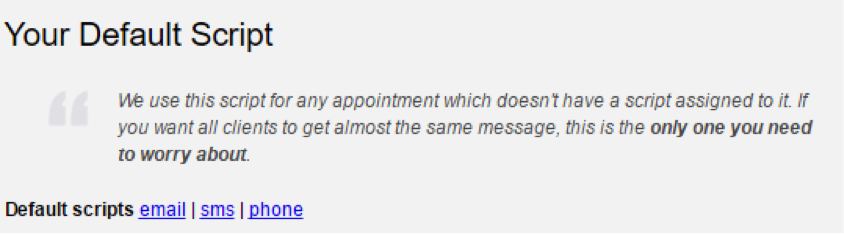
Step 1: Navigate to the Scripts Tab

The default scripts can be located here for each type of message. We’ll go through each one individually.
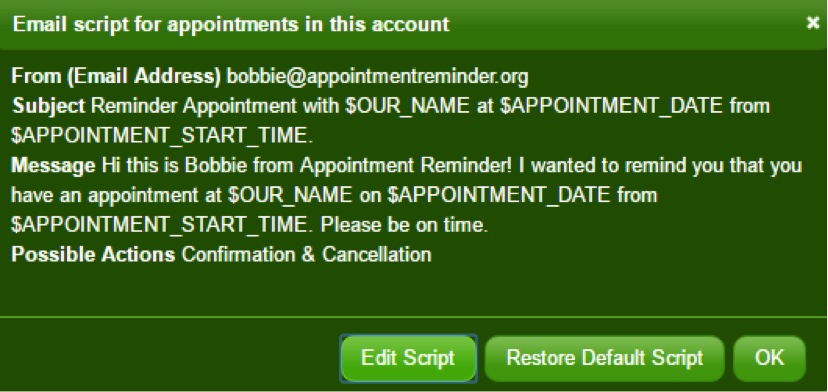
Editing the Email Script
Click on “email” and you will see the following screen. Note that you can always restore the default script by clicking that button.
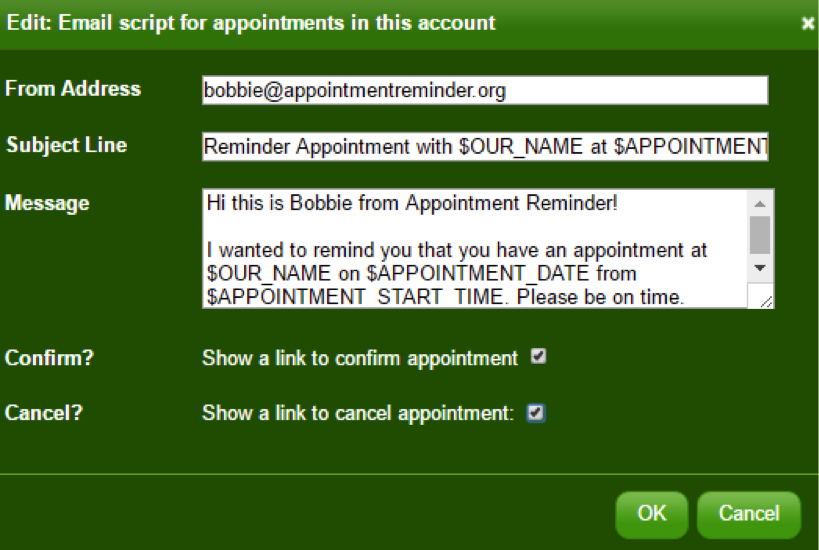
To edit the script, click on “edit script” and you will see the following window pop up. All fields are customizable.
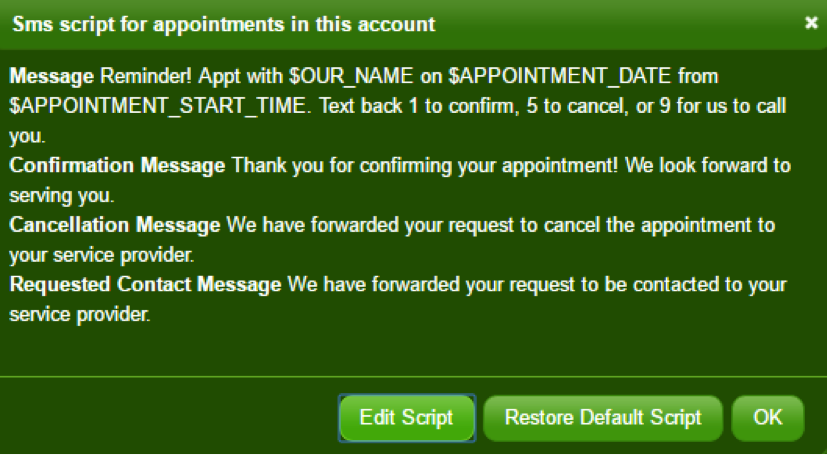
Editing the SMS Script
If you click on “SMS” you will get the following screen. Remember that you can always restore the default script if you get stuck!
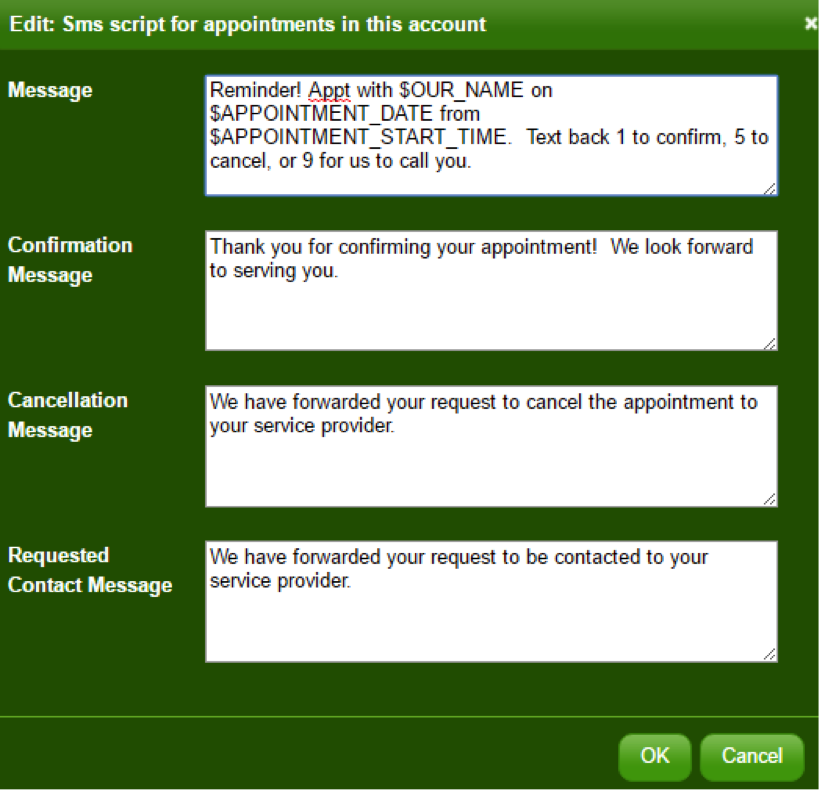
To edit the script, select “edit script” and you will see the following screen:
-
Message – the exact text message that gets sent to your client. Entirely customizable!
-
Confirmation Message – this is the text that the client receives once they have pressed 1 to confirm
-
Cancellation Message – this is the text that the client receives once they have pressed 5 to cancel
-
Requested Contact Message – this is the text that the client receives once they have pressed 9 to request contact
HOT TIP: Want to make it less easy for your clients to cancel? Remove the “5 to cancel” text in the “Message” field 🙂
Note: Your team will be notified via email or SMS of your clients’ responses. To change who gets these notifications and how they are sent, go to the “Data” tab and scroll to the “Notifications” section to edit.
Editing the Phone Script
If you click on “Phone” you will get the following screen. Remember that you can always restore the default script if you get stuck!
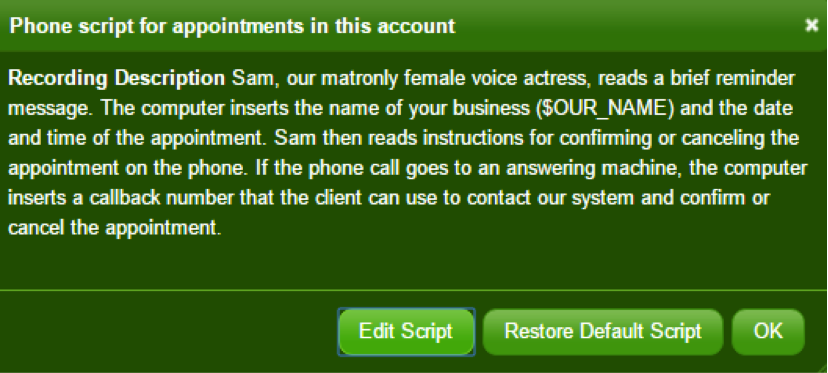
To edit the script, select “edit script” and you will see the following screen:
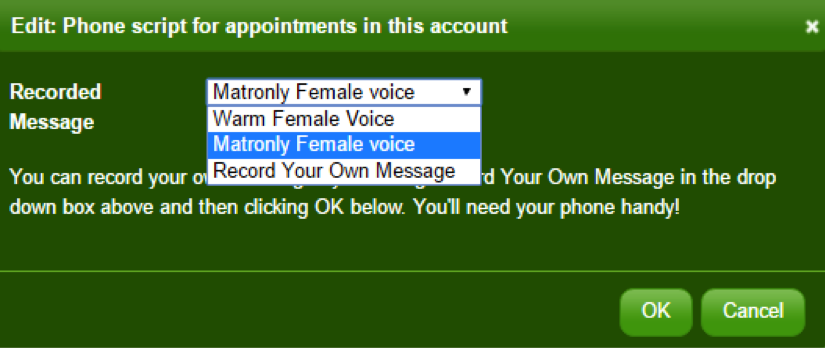
If you select “Record Your Own Message” you will see a message similar to the following:
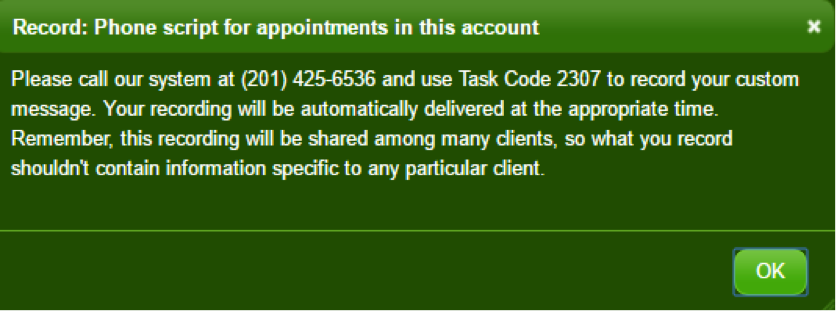
Once you have called in, our computer system will guide you through what you need to do to set up your outgoing message. It’s a process like setting up a voicemail on your phone – super simple!
###Customize Your Reminder Timing Options
EXAMPLE: If I set an appointment at 6 p.m. the day prior to the appointment, fewer than 24 hours in advance, that notice would not be sent.
The appointment must be set at least 24 hours in advance if you are expecting at 24 hour notification to be sent (25 to be safe).
That said, there is a workaround for this. You can create some customized reminder timings for last minute appointments. That way, when you schedule an appointment later in the day for the next day, you can be sure that they will receive a notification.
To do this, follow these instructions:
-
Go to your account tab
-
Click on change reminder timing options
-
Click on create new reminder timing option
-
Name your timing option (for example “last minute appointment” – important because now when you create an appointment you MUST CHOOSE this timing option from a dropdown menu)
-
Choose your options (for a last minute appointment, the day of, morning is a good option; and/or day before, 7 p.m.)
We don’t recommend anything more than 72 hours in advance for the 1st reminder, because people forget!
A bit of trivia for you, here is how our timings work:
- Timing 1 : email sent
- Timing 1 + 10 minutes: text sent
- Timing 1 + 20 minutes: phone call
- Timing 2: email sent
- Timing 2 + 10 minutes: text sent
- Timing 2 + 20 minutes: phone call
NOTE: If the client confirms at any point in the process, no other reminders are sent.
Customize Your Caller ID
When our phone system attempts to reach your customers, the call will come from a number that may be unfamiliar to your clients. You can change this easily!
Navigate to the Account Tab:
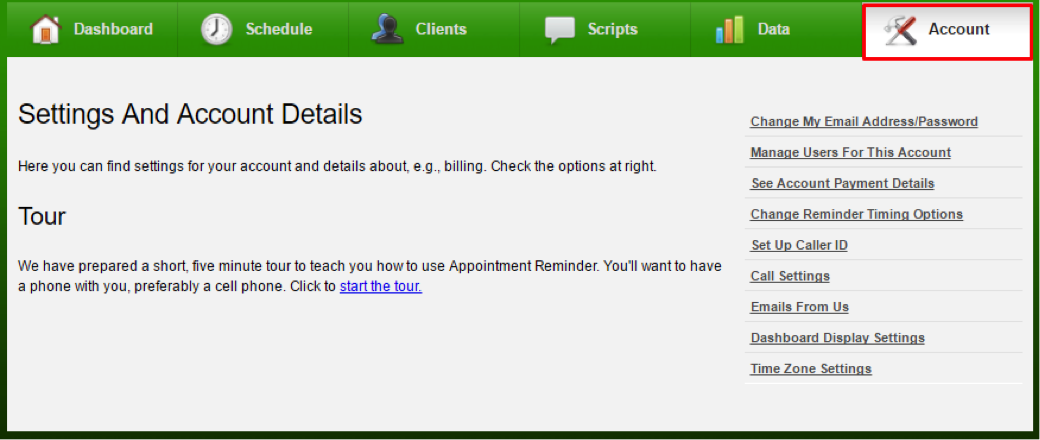
Click on “Set Up Caller ID” and follow the on-screen instructions. You can see the current caller ID number in the red box:

Appointment Reminder has many different customizable options for every business. For more information, contact our friendly Support team!